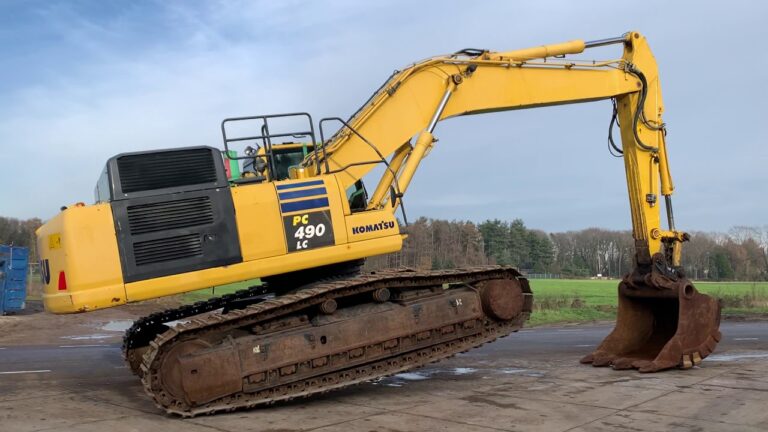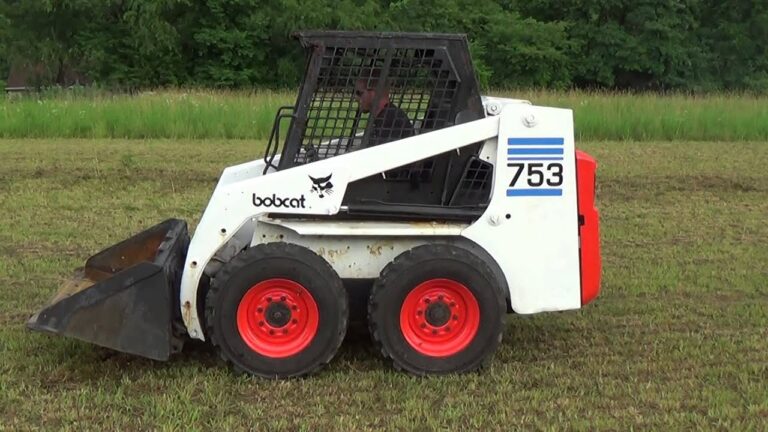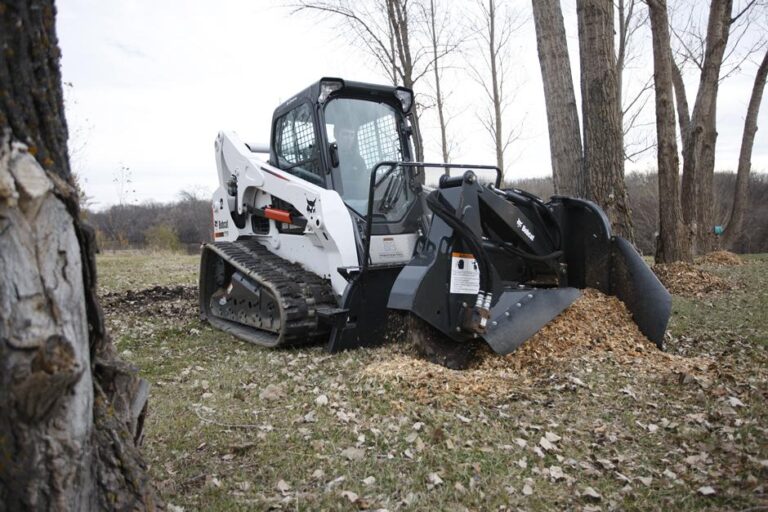
Reći ću vam kako ukloniti zadnji pogon s Bobcat bagera. Zapravo je vrlo jednostavno. Podijelit ću ga u dvije faze: rastavljanje komponenti i rastavljanje zadnjeg pogona. Govorit ću o bageru serije 200, ali ovo bi se trebalo odnositi na bilo koji bager slične veličine.

Podignite stazu od tla
Podignite gusjenicu s tla bagera. Visoko dizanje omogućuje strojaru da prijeđe preko bilo koje prepreke na tlu, na primjer velikog kamena, i daje prostor za kantu. Priključak je pričvršćen na bager pomoću nosača za brzo spajanje.
Dodatak ima dvije točke za podizanje, po jednu na svakom kraju ruke. Lanac za dizanje postavljen je na svaku točku dizanja i ti su lanci povezani s remenom koji se omotava oko sklopa gusjenice.
Kod podizanja ili spuštanja gusjenice kut kraka treba biti nizak.
Skinite gusjenicu i zateznu šipku
Postupak uklanjanja gusjenice je različit za svaku vrstu bagera, ali opći koraci su otprilike isti.
Evo što trebate znati o postupku uklanjanja i zamjene gusjenica vašeg bagera.
Većina bagera dizajnirana je sa sustavom zatezanja koji vam omogućuje podešavanje gusjenica njihovim zatezanjem ili otpuštanjem. Kako biste uklonili gusjenice, najprije ćete morati otpustiti ovu napetost pomoću hidrauličke šipke ili ekscentričnog klina, ovisno o vašem stroju.
Nakon što uklonite napetost s gusjenica, one se lako mogu ukloniti. Međutim, ako imate problema s klizanjem s kotača, pokušajte namazati klinove gusjenice. To im može pomoći da lakše klize.
Ispustite ulje zadnjeg pogona
Zadnji pogon posljednja je komponenta u pogonskom sklopu vaše opreme. To je u osnovi mjenjač koji prima snagu od motora, prenosi je na kotače i osigurava konačno smanjenje brzine potrebno za okretanje vaših guma.
Promjena ulja u vašem završnom pogonu je važna jer će pomoći u zaštiti od preranog trošenja, smanjiti zagrijavanje i spriječiti bilo kakvu štetu na unutarnjim komponentama. To vam dugoročno može uštedjeti novac, pa svakako provjerite razinu ulja vašeg zadnjeg pogona barem jednom u svakoj smjeni ili dva puta dnevno za optimalnu izvedbu.
Uklonite vijke koji pričvršćuju ploču na protuuteg
Bager se drži zajedno pomoću sklopke koja povezuje protuuteg s glavnim tijelom stroja. Kako biste uklonili bager, morat ćete ukloniti vijke koji učvršćuju ovu spojnicu.
Prvo idite ispod kabine i pronađite vijke koji drže ovu spojnicu. To su dugi vijci s velikim maticama na sebi. Ovi vijci su izuzetno tvrdi i bit će potrebne dvije osobe da se olabave.
Prva osoba treba se osloniti na kotačić i zakucati s jedne strane matice, dok druga osoba zabija s druge strane. To može potrajati nekoliko minuta, ali na kraju će početi popuštati.
Nakon što se olabave, važno je pažljivo ih ukloniti kako ne bi pale na vas ili bilo koga drugoga.
Uklonite priključak za mast sa stražnje strane pogona
Uklonite priključak za mast bagera sa stražnje strane pogona. Instalirajte čep cijevi od 1/8″ na ovo mjesto i zategnite na 8-10 ft./lbs. okretnog momenta. Postavite pumpu sa zračnom linijom i stlačite sustav s 15 psi. S kantom postavljenom na čvrsto tlo, dopustite da se sustav napuni dok se ne postigne 15 psi. Isključite stroj i ostavite da se svi dijelovi potpuno ohlade prije uklanjanja pritiska. Sada kada ste odredili servisni interval, postavite program za praćenje kada je stroj primio servis. Ako imate više od jednog FPT stroja ili imate više vozila koja zahtijevaju održavanje, koristite softverski program kao što je EquipmentWatch da pratite održavanje svoje opreme.
Uklonite manometar za ispitivanje pogonskog tlaka
Moramo ispitati hidraulički tlak hidrauličkog sustava bagera kada mijenjamo uljnu brtvu. U ovom članku ću vas upoznati s metodom i mjerama opreza za uklanjanje manometra za ispitivanje pogona bagera.
Metoda uklanjanja manometra za ispitivanje pogona bagera je relativno jednostavna, prvo pomoću ključa odvrnite sigurnosnu maticu, a zatim uklonite montažnu rupu podesivim ključem. Pomoću odvijača izvucite poklopac na oba kraja mjerača, uklonite zaštitni poklopac i O-prsten, a zatim uklonite mjerač.
Odvojite hidraulične vodove od završnog pogona
Odvojite hidrauličke vodove od krajnjeg pogona. Uklonite dva vijka koji pričvršćuju motor na šasiju.
Otpustite matice koje drže hidrauličke vodove. Odvojite hidrauličke vodove od krajnjeg pogona.
Skinite bočne poklopce sa završnog pogona
Postavite mjenjač u neutralni položaj i blokirajte stražnji kotač. Uklonite vijak s dna lijevog bočnog poklopca i podignite poklopac. Nemojte ga skidati ili možete oštetiti pečat. Sada možete vidjeti pumpu ulja, pogonsko vratilo i kvačilo startera. Podignite pogonsku osovinu i uklonite O-prsten iz utora. Podignite sklop pumpe za ulje, pazeći da svi dijelovi budu zajedno kako se ne bi pomiješali. Uklonite O-prsten iz utora u sklopu pumpe za ulje. Očistite površinu oko spojnih površina čistom krpom.
Uklonite poklopac s desne strane na isti način kao što je gore opisano.


