I am going to tell you how to remove the final drive from a Bobcat excavator. It is actually quite simple. I’ll break it down into two phases: disassembling the components and taking apart the final drive. I’m going to be referring to a 200 series excavator, but this should apply to just about any excavator of a similar size.
Raise the track off the ground
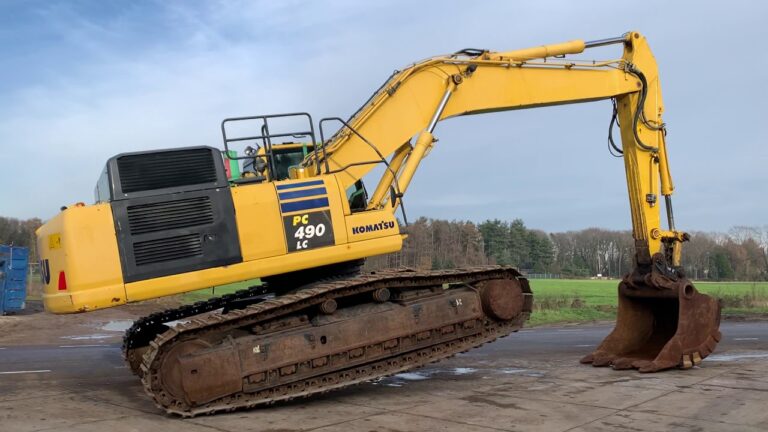
Raise the track off the excavator ground. The high lift enables the operator to travel over any obstructions on the ground, for example a large rock and give clearance for the bucket. The attachment is affixed to the excavator with a quick hitch bracket.
The attachment has two lifting points, one on each end of the arm. A lifting chain is fitted to each lifting point and these chains are connected to a sling that wraps around the track assembly.
The angle of the boom should be kept low when raising or lowering the track.
Remove the track and tension rod
The track removal process is different for each type of excavator, but the general steps are roughly the same.
Here’s what you need to know about the process for removing and replacing your excavator’s tracks.
Most excavators are designed with a tensioning system that allows you to adjust the tracks by tightening or loosening them. In order to remove the tracks, you’ll first need to release this tension using either a hydraulic rod or an eccentric pin, depending on your machine.
Once you’ve removed the tension from the tracks, they can be easily removed. If you’re having trouble sliding them off of their wheels, however, try applying some grease to the track pins. This can help make them slide easier.
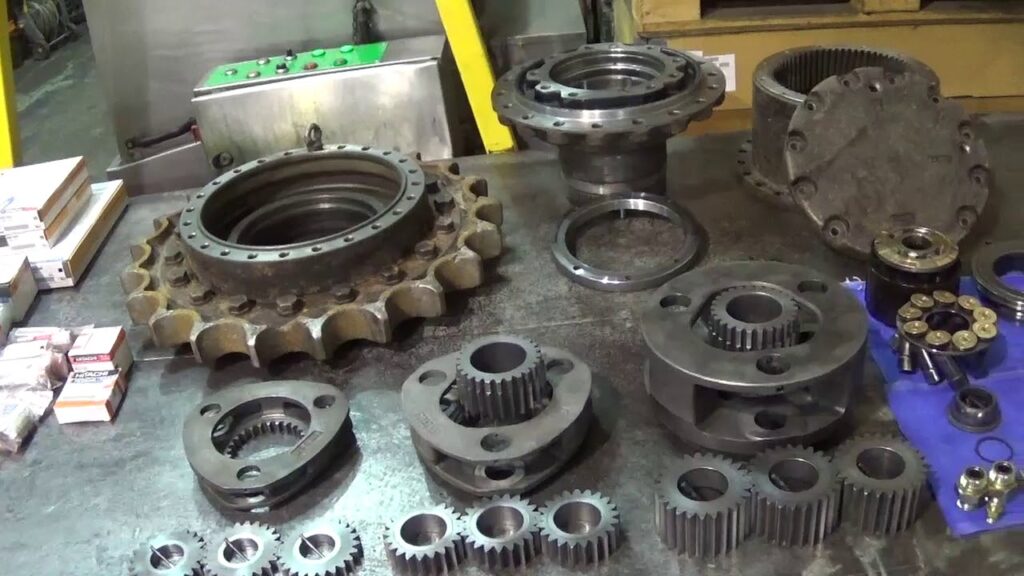
Drain final drive oil
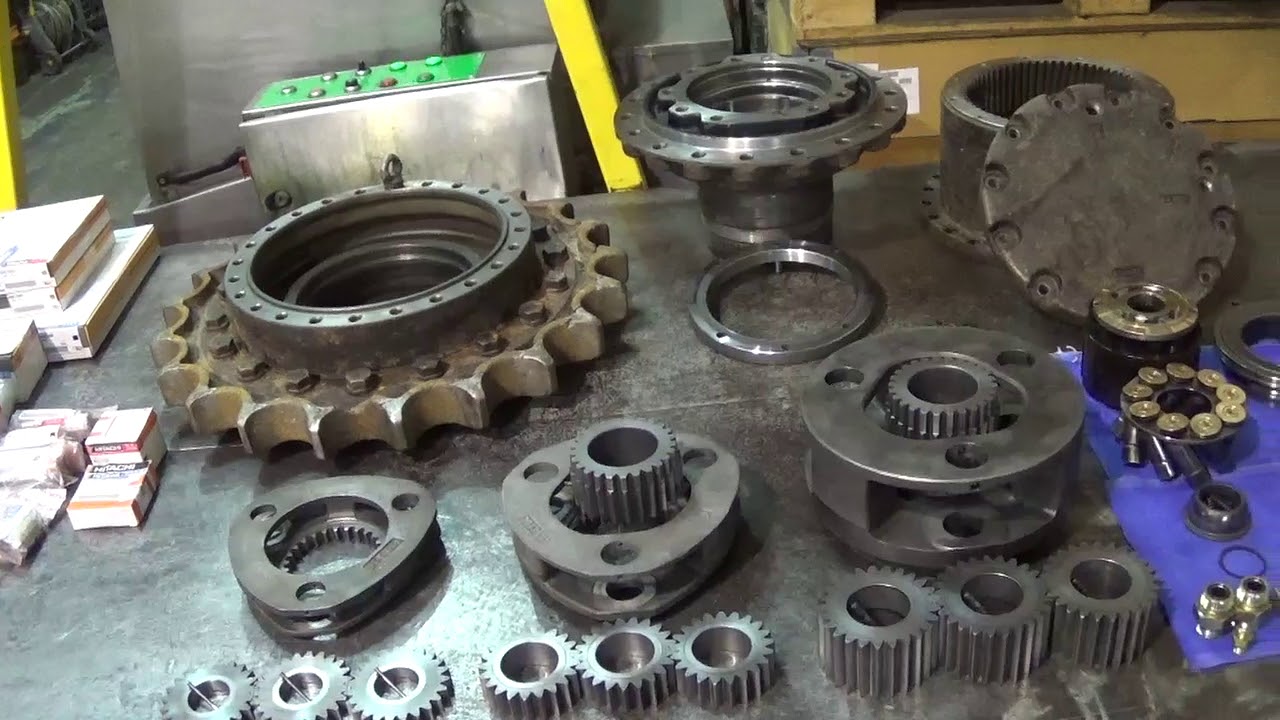
The final drive is the last component in the power train of your equipment. It is basically a gearbox that receives power from the engine, transfers it to the wheels and provides the final speed reduction required to turn your tires.
Changing the oil in your final drive is important because it will help protect against premature wear, reduce heat and prevent any damage to internal components. This can save you money in the long run, so make sure you check your final drive’s oil level at least once every shift or twice a day for optimal performance.
Remove bolts securing the plate to counterweight
The excavator is held together by a coupling arrangement that links the counterweight to the main body of the machine. In order to remove the excavator, you will need to remove the bolts that secure this coupler.
First, get under the cab and find the bolts that hold on this coupler. They are long bolts with large nuts on them. These bolts are extremely hard and will require two people to get loose.
The first person should brace themselves against the wheel well and hammer away at one side of the nut while the other person hammers away at the other side. This may take several minutes but eventually they will begin to loosen.
After they are loose, it is important to be careful removing them so they don’t fall on you or anyone else.
Remove grease fitting from the rear of the drive
Remove excavator grease fitting from the rear of the drive. Install a 1/8″ pipe plug in this location, and tighten to 8-10 ft./lbs. of torque. Set up a pump with an air line, and pressurize the system with 15 psi. With the bucket positioned on solid ground, allow the system to fill until 15 psi is reached. Shut down machine and allow all parts to cool completely before removing pressure. Now that you have your service interval determined, set up a program for tracking when the machine has received its servicing. If you have more than one FPT machine or have multiple vehicles that require maintenance, use a software program like EquipmentWatch to keep track of your equipment’s maintenance.
Remove drive pressure test gauge
We have to test the hydraulic pressure of the hydraulic excavator system when we replace the oil seal. In this article, I will introduce you to the method and precautions for removing the excavator drive pressure test gauge.
The method for removing the excavator drive pressure test gauge is relatively simple, first use a wrench to unscrew the lock nut, and then remove the mounting hole with an adjustable wrench. Use a screwdriver to pry out the cover at both ends of the gauge, remove the protective cover and O-ring, and then remove the gauge.
Disconnect hydraulic lines from the final drive
Disconnect hydraulic lines from the final drive. Remove the two bolts that attach the engine to the chassis.
Loosen nuts that are holding the hydraulic lines. Disconnect hydraulic lines from the final drive.
Remove side covers from the final drive
Place the transmission in neutral and block the rear wheel. Remove the bolt from the bottom of the left hand side cover and lift off the cover. Do not pry it off or you may damage the seal. You can now see the oil pump, drive shaft and starter clutch. Lift out the drive shaft and remove O-ring from its groove. Lift out the oil pump assembly, being careful to keep all parts together so they don’t get mixed up. Remove O-ring from groove in oil pump assembly. Clean around mating surfaces with a clean rag.
Remove right hand side cover in same manner as described above.