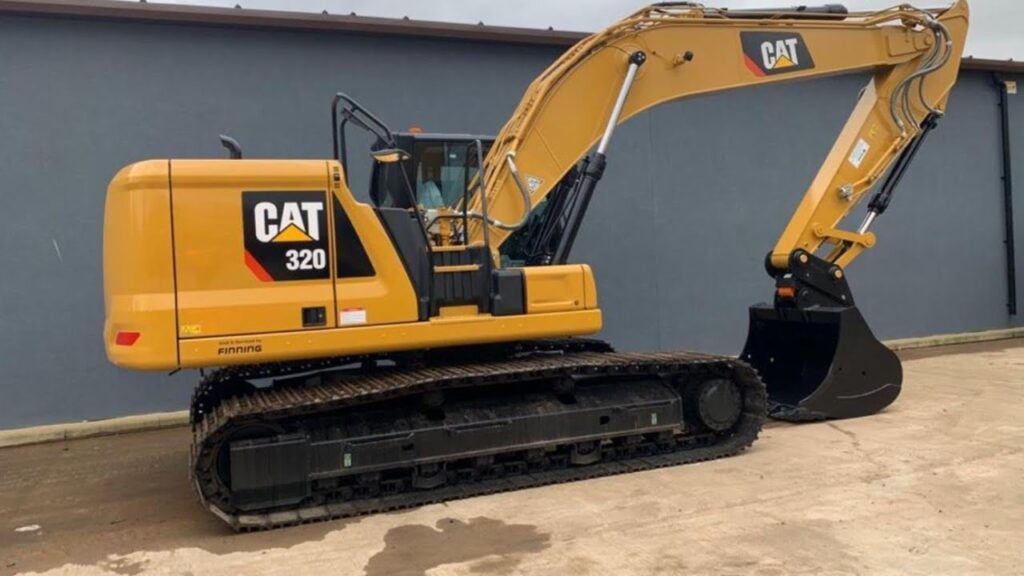
When it comes to heavy machinery, shims are one of the most important components used by many different industries. Shims provide much-needed support for many different tools and machines including front bucket excavator cat 320. As a matter of fact, shims help ensure a long lasting life cycle. For those in the mining industry, they need their mining machines to last as long as possible. Mining companies have had their fair share of spending millions on brand new machines that break down within months of use.
Loosen the nuts on the bucket, remove them and take out the bucket
We have been talking about the bucket and the bolts that hold it in place. Now we will analyze the removal of the bucket and its installation.
In order to remove the bucket, you need to loosen the 2 nuts on your excavator cat 320. To do this, use a special key – a socket wrench or a wrench with a square head attached to it. You can also loosen the nuts by screwing them counterclockwise at 360 degrees. Do not forget about safety regulations in this process: wear a hard hat and protective gloves.
Remove the bucket shims
Remove the excavator cat 320 bucket shims, like other parts of the machine. This is a very simple operation, which we need to understand the process. Today is about how to remove the excavator cat 320 bucket shims.
The first step is to find out where the shim is placed in this machine, as it will be loosened from the bottom side of the teeter pin. The second step is to use a pry bar or a crowbar to make the shim stand up slightly. The third step is to remove the bolt that holds the shim in place with an impact wrench.
The fourth step is to take out all of the other bolts that hold it in place and remove them from their position as well. You will also want to check for any loose bolts that may be holding it down too. If you notice any loose bolts, you will want to tighten them before you put them back in place.
The fifth step is to check on all of the other components on your excavator and make sure they are working properly so they can work together smoothly and efficiently.
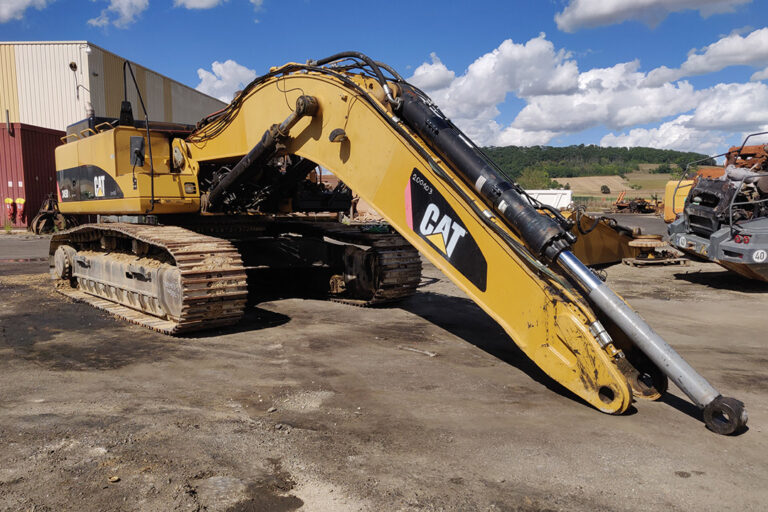
Measure the distance between bucket arm and bucket pin
The pin on excavator cat 320 bucket is in a fixed position and should not have any appreciable wear; however, the pin on the bucket can be adjusted to provide additional clearance. There are several ways to measure the bucket to dipper clearance.
The easiest method is to measure the distance between the outermost point of the bucket and the innermost point of the dipper, as shown in Figure 1.
If you find that there is not enough clearance between these two points, you can change your bucket; however, before you do anything else, make sure that there is nothing else affecting your clearance such as a bent dipper, linkage or stick.
Choose correct thickness of shims. We recommend to add 0.25 mm shims into each side of bucket pin
Choose correct thickness of shims. We recommend to add 0.25 mm shims into each side of excavator cat 320 bucket pin if the measurement is less than 50 mm. If the measurement is between 50 and 60 mm add 0.5 mm shims into each side of excavator cat 320 bucket pin, you can use 3-5 mm shims in each side if the measurement is more than 60 mm.
Insert new shims into bucket pin
Cat 320 excavator bucket pins and bushes are typically some of the most abused components on a machine, due to the high loads they’re exposed to. Bushes take the brunt of the load, and are designed to wear out before the pins do. When it comes time to replace them, there are a few simple steps to follow:
1. Remove any lock nuts or locking pins that may be fitted to the pin.
2. Using a punch and hammer, knock out the old pin.
3. Inspect the bushing for wear or damage – if they’re worn beyond tolerance, they must be replaced. The bush inside diameter must be larger than the pin outside diameter by 0.08-0.12mm (0.003-0.005in), so measure both carefully in several places around the circumference, and calculate an average value for each (see below).
4. Using a reamer this size, hone out old bushing to restore its internal diameter back within tolerance (if it’s too small), or make it slightly larger (if it’s too large).
5. If you have access to a lathe, turn down the new shims so their thickness is reduced by half of any adjustment required
Place the bucket over pins, install nuts and tighten them in accordance with Service Manual instructions
Place the cat 320 bucket over pins, install nuts and tighten them in accordance with Service Manual instructions.
Attach the support arm of the lift truck to the lifting ring. Raise the bucket, making sure it is free of all foreign objects.
Install the bolts that secure the bucket to the pins (See Fig. 4). If a new bucket is installed, check its adjustment and make sure it is correct before connecting it to the machine. Tighten connection bolts evenly on both sides of the bucket. Refer to Service Manual for tightening torque specifications.
Use a suitable adapter with an indicator for alignment and adjustment of the blade angle when installing a new blade or adjusting an old one.
Adjust and position the blade (if necessary) using such devices as a straight edge or string line (Refer to “Blade Adjustment” in this Section). When adjusting a new blade, make sure that there are no burrs or paint on contact surfaces and check if there are any damage to bolt threads.