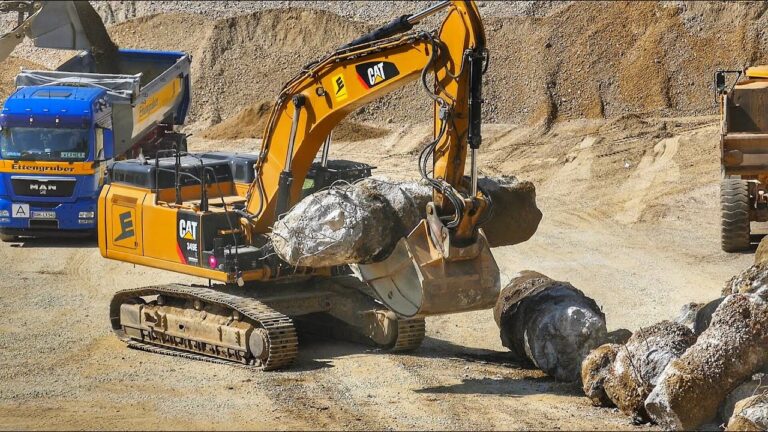
Swapping a clutch-forks in a Cat 301.5 Heading machinery – is not as straightforward as it might seem. It’s something you need to work towards and be realistic about, but a great skill to learn for anyone interested in fixing their own mechanical issues or making small repairs on equipment.
Step 1 – Cat 301.5 Disconnect the battery cable from the battery and place it in a safe place
1. Park the machine on a smooth, level surface.
2. Lower the operator’s compartment guard, if necessary.
3. Stop the engine and remove the key from the ignition switch.
4. Place transmission in neutral and engage parking brake.
5. Close all windows, doors, and hoods.
6. Remove the battery cable from the battery and place it in a safe place away from the batteries to prevent accidental shorting of battery terminals by tools or similar items.
7. Disconnect jumpers from batteries (if installed).
8. Remove negative (-) cable clamp from tractor battery negative terminal first, followed by positive (+) cable clamp from tractor battery positive terminal second.
9. Remove negative (-) cable clamp from implement battery negative terminal first, followed by positive (+) cable clamp from implement battery positive terminal second
Step 2 – Cat 301.5 Remove the remover and all of the bolts from the equipment
You have to remove the controller from the dash, then the bolts holding the controller to the top of the machine. Then you take off the front cab door. On the left is a vent for the radiator. Remove it and disconect all wires. Now remove the screws holding rails to the cab floor. There are also 2 bolts on each side at each bottom corner of cab. You might have to remove an oil dipstick tube and maybe a couple other wires/hoses from that side before you can move it far enough out of your way to get at those bolts. Now you can wiggle rail off over top of fuel tank and let it hang there while you wiggle cab off frame rails. This is where it helps if there are two people doing this job.
Now you should be able to remove fuel tank and all hoses. Take a bag and mark everything as it comes off so you know where they go when putting back together.
Remove hydraulic reservoir next, then disconnect all hydraulic lines on right side of machine, carefully marking them as they come off so you know where they go when putting back together.
Step 3 – Remove the engine oil filler cap and drain the oil into the container for safe disposal
1. Cat 301.5 Remove the engine oil filler cap and drain the oil into the container for safe disposal.
2. Remove oil filler cap from engine, then remove the dip stick plug from the side of the engine block.
3. Drain any coolant remaining in the radiator into a can for safe disposal.
4. Remove the hydraulic oil tank cap and drain hydraulic oil into a container for safe disposal, then remove the hydraulic tank filter element and discard it.
5. Remove fuel tank cap, then remove fuel tank to allow fuel to drain into a container for safe disposal until empty.
Step 4 – Insert the wrench on the pulley bolts
There are three pulley bolts on the Cat 301.5. The one on the right is next to the oil drain plug. The two on the left are side by side. You can get a wrench or a ratchet with an extension on it onto the pulley bolt on the right through the oil drain hole in the bottom of the machine, but you can’t get at the two on the left that way.
You should remove both left side pulleys before removing the belt. It’s easier to work with them that way.
The only possible access to these two pulleys is from above, but there doesn’t appear to be any room between them and other components to fit a wrench or socket onto them. And there’s no way to get at them from underneath, because they’re enclosed by a protective shield bolted onto the frame of the machine
At first glance, it looks like you are going to have to remove all kinds of parts just to get at those two pulley bolts, but it turns out you only have to take off one small piece — a plastic cover that protects part of a hydraulic fitting
Step 5 – Remove the two bolts that lock the clutch-fork assembly in place
Before replacing the clutch, it is a good idea to inspect all of the components. The first step involves removing the clutch and flywheel assembly. Begin by removing the two bolts that lock the clutch-fork in place and then remove the fork.
Next, with the fork removed, you can remove the release bearing. This is accomplished by sliding it off of its mounting studs. The next step involves removing the pressure plate and clutch disc from the flywheel assembly.
The final step involves removing four bolts from the flywheel that hold on some dampening plates (if equipped). Once these are removed, you can pull out the flywheel and inspect all of its surfaces for wear and damage. If everything looks good, you can reinstall everything in reverse order to complete your replacement job.
Step 6 – Take out the linkage, shaft and bearing assembly as one unit
The first step is to remove the bolt from the end of the spool valve rod. This is done by removing the cotter pin, then using a 15MM socket. The nut is then removed from the spool valve rod.
Next, disengage the hydraulic hoses from the hydraulic control valve. Remove the hydraulic hose clamp and disconnect the hydraulic hoses from the hydraulic control valve. This is done by using an open end wrench to loosen up both of these fittings.
Next, support the hydraulic tank with a bar or pipe with a “V” notch in it. This will keep it from falling down when you pull out one of the bolts that’s holding it on to the machine frame
It is possible to change a clutch-fork on your own
It’s possible to change a clutch-fork on your own. You won’t need any special equipment. You don’t even have to jack up the car.
The only tool you need is a rubber mallet to tap the fork into position. I do recommend using caution when doing this project.
The clutch-fork is designed to be under pressure at all times. This allows for a smooth transition when you shift gears. If you’re not careful, you can easily damage the fork or get hurt in the process.
Clutch forks can be damaged over time from regular wear and tear, especially if you drive a lot of miles each day or have an older vehicle with more than 100,000 miles on it.